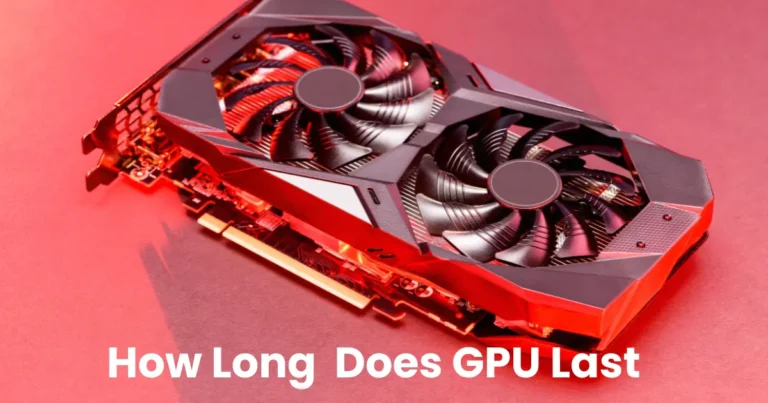
Maintaining your GPU (Graphics Processing Unit) is crucial for ensuring your computer runs smoothly and efficiently. In this article, we’ll walk you through the essential steps to safely clean your GPU, boosting its performance and extending its lifespan.
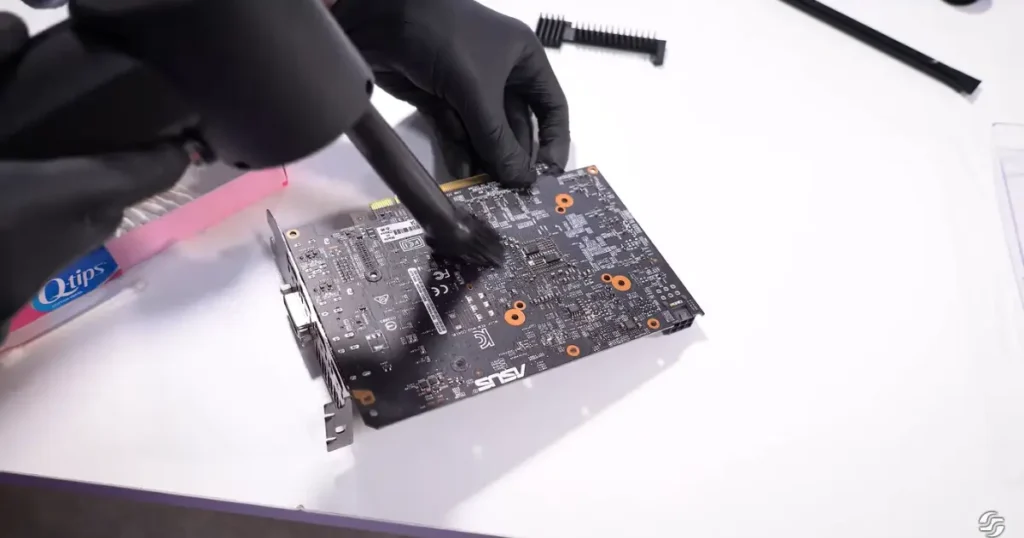
What is a GPU?
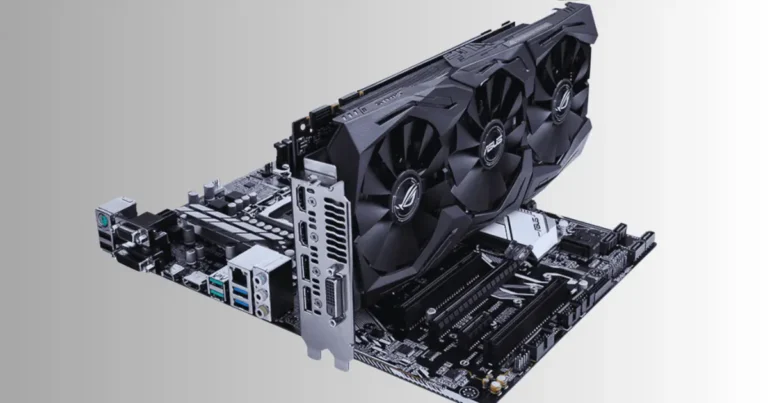
The GPU, or Graphics Processing Unit, is the component responsible for rendering images, video, and animations in your computer. It plays a critical role in everything from gaming to video editing. Without a well-functioning GPU, your system’s performance can suffer significantly.
Why Cleaning GPU is Essential
Regularly cleaning GPU is vital for several reasons:
Preventing Overheating: Dust and debris can clog the cooling mechanisms, causing GPU to overheat.
Extending GPU Lifespan: Keeping GPU clean can prevent damage and extend its useful life.
Maintaining Optimal Performance: A clean GPU operates more efficiently, ensuring computer performs at its best.
Tools and Materials Needed
Before you start cleaning GPU, gather the following tools and materials:
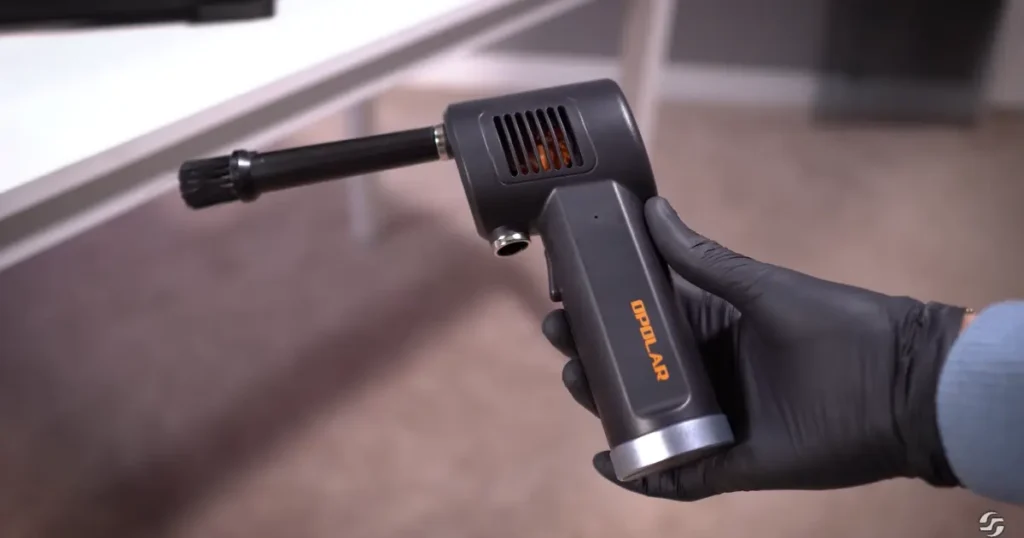
- Compressed air canister
- Microfiber cloth
- Small brush
- Screwdrivers (Phillips and flat-head)
- Antistatic wrist strap (optional but recommended)
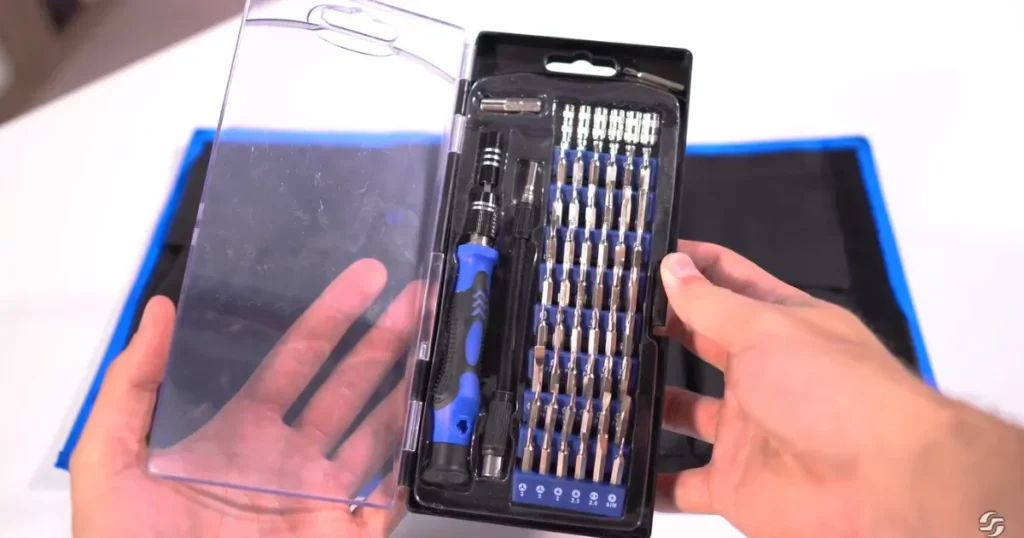
Step 1: Power Down and Unplug Your Computer
Safety first! Make sure to power down your computer completely and unplug it from the electrical outlet. This step is crucial to avoid any electrical hazards and to ensure your safety while handling internal components.
Step 2: Open Your Computer Case
Next, you’ll need to open your computer case. Depending on your case type, you may need to use a screwdriver to remove the screws securing the side panel. Once the screws are removed, carefully slide the panel off to expose the internal components.
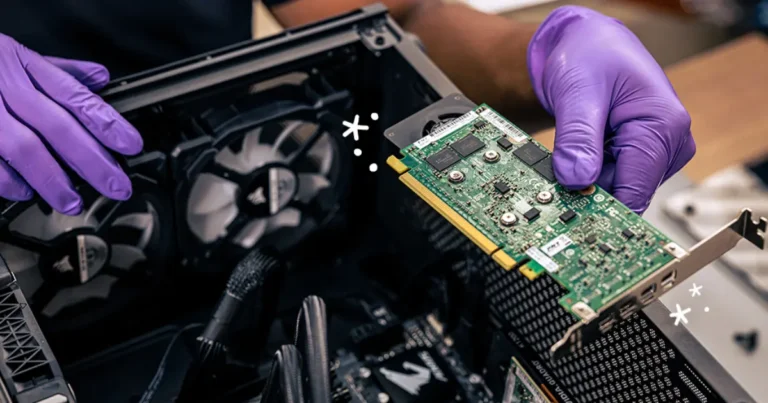
Step 3: Remove the GPU from the Case
To clean your GPU thoroughly, it’s best to remove it from the case. Locate the GPU, which is typically secured by screws and a PCIe slot latch. Unscrew any screws holding the GPU in place and gently release the latch. Carefully lift the GPU out of the slot, ensuring you don’t damage any components.
Step 4: Clean the GPU’s Exterior
With the GPU removed, use a can of compressed air to blow away any loose dust and debris from the exterior. Hold the can upright and apply short bursts of air to prevent moisture accumulation. Follow this by wiping down the GPU with a microfiber cloth to remove any remaining dust.
Step 5: Clean the GPU’s Fans
The fans are a critical component for keeping your GPU cool. Use compressed air to blow out dust from the fans, holding them still with a small object to prevent them from spinning. For stubborn dust, use a small brush to gently dislodge it.
Step 6: Clean the GPU’s Heat Sink
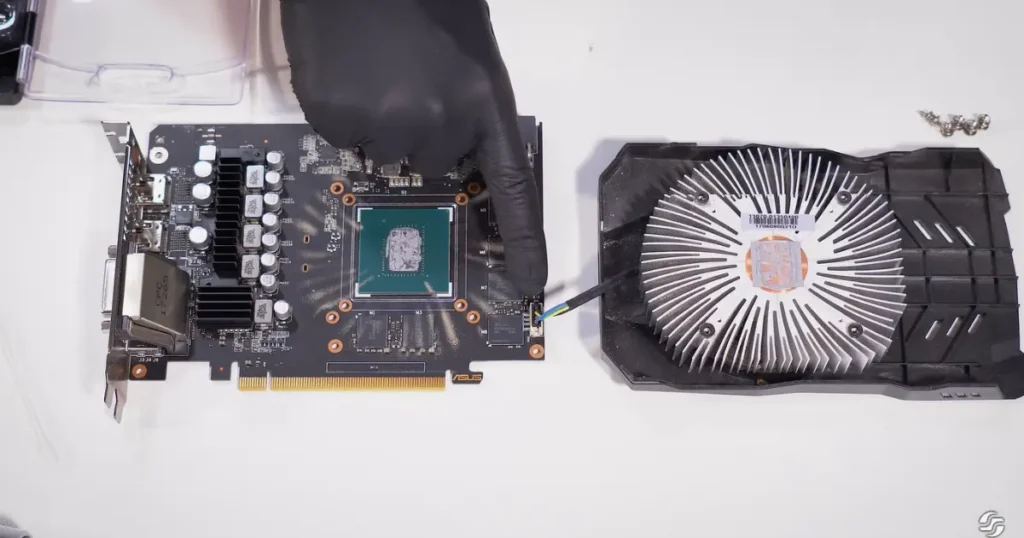
The heat sink helps dissipate heat from the GPU. Over time, it can accumulate dust, reducing its efficiency. Use compressed air and a brush to clean between the fins of the heat sink. Be thorough but gentle to avoid bending any of the fins.
Step 7: Reassemble and Reinstall the GPU
Once your GPU is clean, it’s time to reassemble and reinstall it. Carefully place the GPU back into the PCIe slot, ensuring it is properly seated. Secure it with screws and reconnect any power cables. Close your computer case and plug it back in.
Additional Tips for Maintaining a Clean GPU
Regular Maintenance Schedule: Make it a habit to clean your GPU every few months to prevent excessive dust buildup.
Keeping Your Workspace Dust-Free: A clean environment can help reduce the amount of dust that gets into your computer.
Common Mistakes to Avoid
Handling Precautions: Always ground yourself to avoid static discharge, which can damage your GPU.
Avoiding Over-Cleaning: Be gentle with components. Overzealous cleaning can cause damage.
Signs Your GPU Needs Cleaning
Performance Indicators: Slow performance or frequent overheating can indicate a dirty GPU.
Visual Cues: Visible dust on the GPU or fans is a clear sign it needs cleaning.
Conclusion
Cleaning your GPU is a straightforward process that can significantly impact your computer’s performance and longevity. By following these steps, you can ensure your GPU remains in top condition. Regular maintenance is key to a smooth-running system.

